Winterize Your Property
Winter is Coming.
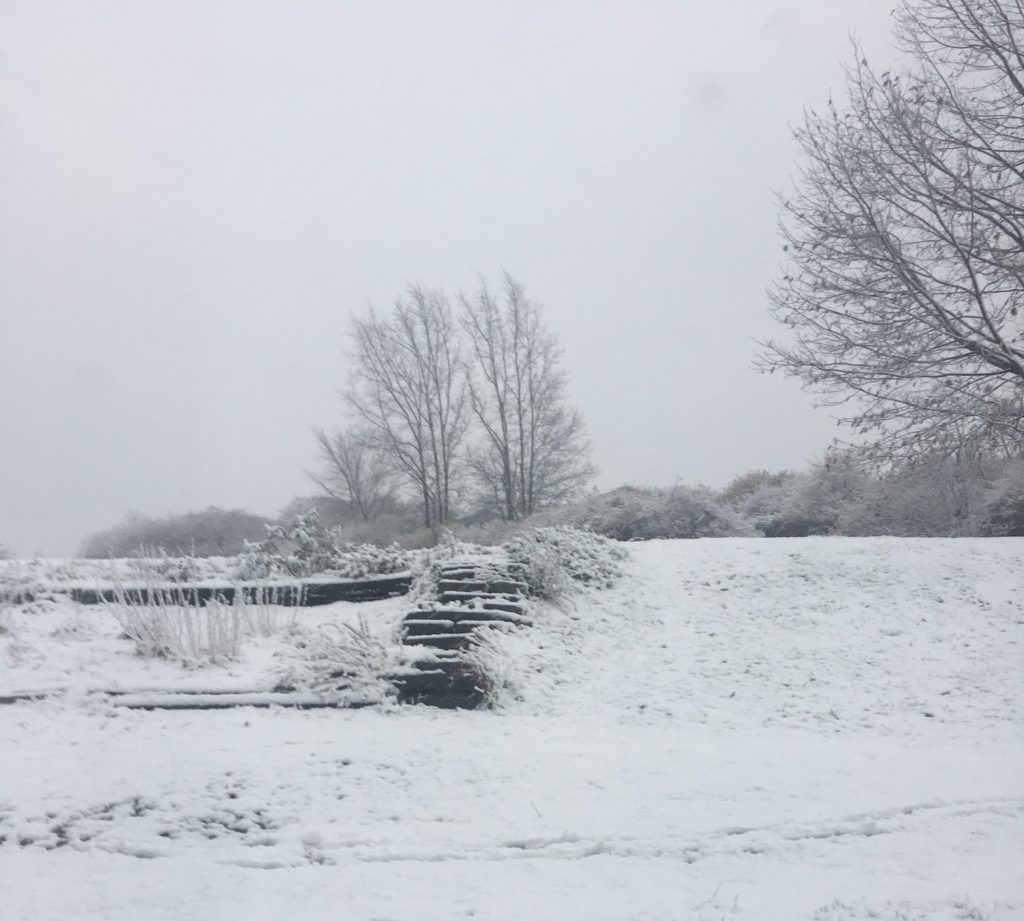
As I write this entry it is a cool, rainy Sunday afternoon on Labor Day Weekend. Kids are back in school, the leaves are beginning to turn, and it’s already dark before 8 o’clock each night. Although autumn doesn’t begin officially for another two weeks, those of us in the Northeast are all too aware that the first frost may be just around the corner.
So while you’re enjoying your last trip out on the boat and that last ice cream cone of the season, now is a great time to start thinking about what you need to take care of around your property before the snow begins to fly. A few of these items (like lawnmower maintenance) should wait until you’re done using the equipment for the season, but others can be completed any time. The following is the list I have compiled for Farmhouse on the Pond based on a decade of experience. It is heavily geared toward people who live in regions where it snows during the winter months, but even if you live in sunnier climes, you may find some helpful hints for things that should be maintained on an annual basis.
As always, I’m an enthusiastic DIYer, not an expert, so if you’re unsure of how to complete any of these tasks safely, consult with the relevant licensed professional or user manual. I’ve included a handy printable checklist here but make sure to read the extra tips provided below.
Checklist for Winterizing Your Property
1. Install Storm Windows
2. Check and Clean Boiler/Heater Filters
3. Check Heating Fuel Levels and Schedule Delivery if Needed
4. Have Fireplace Chimneys Swept and Inspected
TIP: This should really be done in the spring to preserve the longevity of your chimney liner, but we don’t use our fireplace very often so I’m liable to forget. If you didn’t have it swept and inspected in the spring, be sure to get it done before you light your first fire of the season. Creosote build-up not only causes the chimney liner to deteriorate but it can also lead to a devastating chimney fire or even burn down the whole house!
5. Bring in Lawn and Porch Furniture
6. Disconnect Garden Hose Before Frost and Store in Garage
TIP: This is more important than you might imagine. If your hose freezes with water in it, not only might it crack the hose itself, but if it’s still attached to your house or well it can create pressure issues in your interior pipes and water lines, resulting in expensive damage.
7. Remove Solar Lawn Lights
8. Move BBQ Grill into Garage
9. Put Away Gardening Supplies
10. Mulch Strawberries and Cover Other Tender Plants
TIP: We usually just drop several armfuls of raked leaves over our strawberry bed. Not only does this provide insulation, but also nutrition as the leaves start to decompose throughout the winter.
11. Perform Lawnmower Maintenance
TIP: Your user manual should have specific instructions for your mower, but here is what we do:
-Use hose attachment to thoroughly clean blades
-Change oil
-Grease axels
-Fill gas tank and add fuel stabilizer
-Disconnect the battery
The latter two items will dramatically increase the likelihood of your lawnmower starting right up in the spring (after you reconnect the battery, of course!)
12. Maintain and Top Off Fuel in Any Other Gas-Powered Equipment (i.e. weed whacker, chainsaw, etc.)
13. Clean Out the Rain Gutters
Your future self will thank you for this come March!
14. Touch-up Paint/Seal Porches and Wood Siding
15. Verify Snowblower is in Working Order
16. Check and Rotate Supplies in Car Emergency Kit
17. Get Car Washed and Have Rust Prevention Underbody Spray Applied
18. Have Car Oil Changed to Winter Weight Oil
19. Have Snow Tires Installed
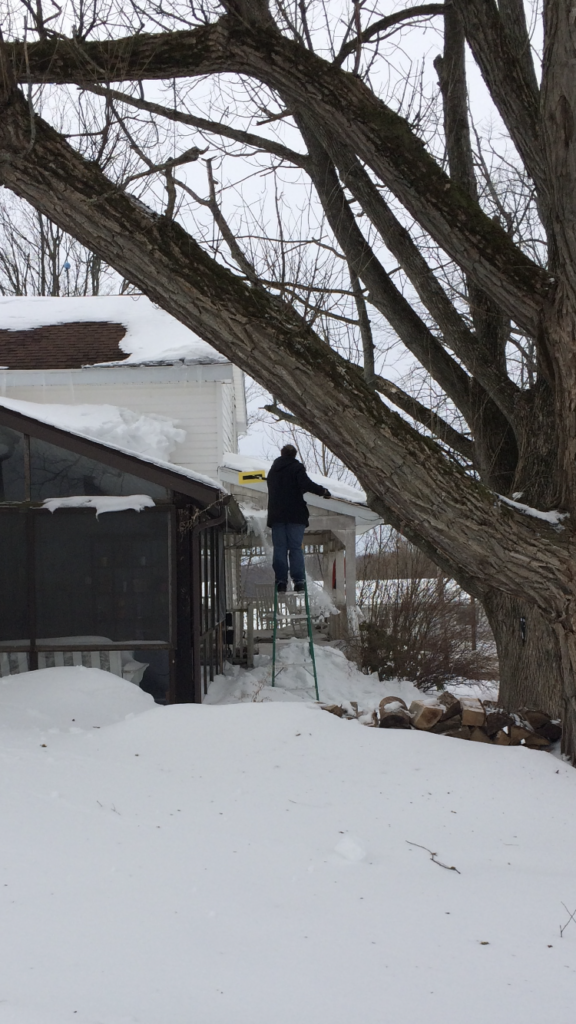
20. Make Sure You Have a Functional Snow Shovel and Sand/Salt
TIP: Possibly a roof rake as well. If there’s a big storm, they’ll be sold out and it will be too late to get one. As evidence, I submit this throwback to 2015 when Bill had to create one using a mop, a piece of lumber, and some duct tape:
*Several people have asked about the car emergency kit and what should be in it. I’ll cover that in an upcoming post!*

You May Also Like
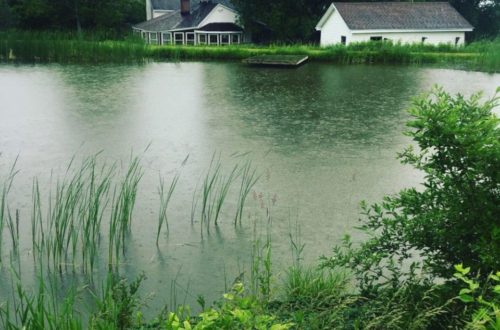
Welcome to Farmhouse on the Pond
March 10, 2020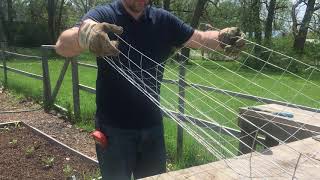
How We Build Tomato Cages
May 24, 2020